


Autonomys Space Acres Guide: Windows
GPU Plotting Included!

WARNING: I am currently unable to plot with Space Acres on Windows. It appears there are some issues. It was not really explained other than ‘maybe’ some network issues due to less farmers. If you are a Windows user and plotting with Space Acres is working please drop a comment! Thanks!
If all you disks are on a single PC, and that PC is running Windows, Space Acres is a great way to quickly get plotting and farming! It basically handles everything for you, and only requires a little bit of configuration which we will cover here. Plus it has GPU plotting now!
Let’s cover a few quick prerequisites:
You must forward two ports in order for Space Acres to get enough connections to work efficiently.
Space Acres runs a node, this requires at least 100GB of SSD storage space to store blockchain data. Plan for a bit more than that.
Autonomys uses SSDs to farm and earn rewards. You should have at least 100GB of space that you can allocate for a farm. But keep in mind that rewards correlate directly to plotted space
You should have a fairly modern PC with an Intel i7 6700 or better, 4+ cores, and 16GB of RAM. It does use a good amount of network bandwidth, especially while initially plotting.
With that out of the way let’s get started.
Prepare you Disks
As mentioned, you need an SSD to farm. HDD will not work at all and it is not worth trying. It is ideal to use an entire SSD to farm, but you could also create a parition specifically for farming, or farm to a folder on the disk. In this example I will farm to an entire 256GB NVME drive as I highly recommend this.
I like to give my disks a fresh cleaning prior running Space Port, so open up windows Terminal and start Diskpart by simply typing:
diskpart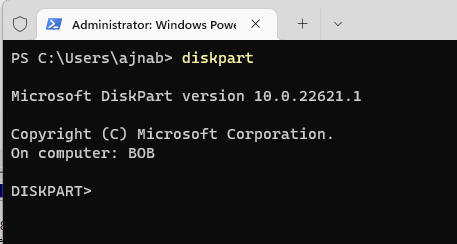
Then enter:
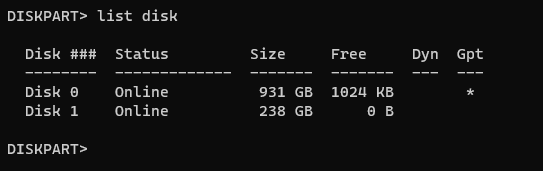
list diskThen find the disk you want to clean. WARNING: Make sure you select the correct disk. You will lose all your data if you select the wrong disk. In my case I only have two drives, and I know that my OS is on a 1TB drive, so the disk I want is Disk 1:
Now select the disk, replacing X with your disk number:
select disk XYou should get a message that Disk X is now the selected disk. Now clean the disk with:
cleanThen create a primary partition:
create partition primaryThen create the nfts file system on the partition:
format fs=ntfs quickAnd finally give it a letter, replace X if you want with a letter of your choosing:
assign letter=XAnd then exit with
exitYou should now see your disk listed under devices and drives:
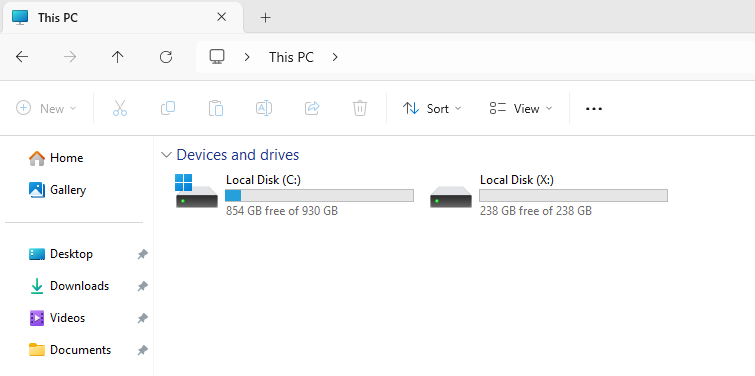
You will want to repeat this process for all your disks that you wish to farm with.
Installing Space Acres
You can find the latest version of Space Acres on the release page of the Autonomys Space Acres github.
If you are on Windows, look for the one that ends in x86_64.msi. Once it is downloaded, double click the file to run it. At the welcome screen click “Next”:
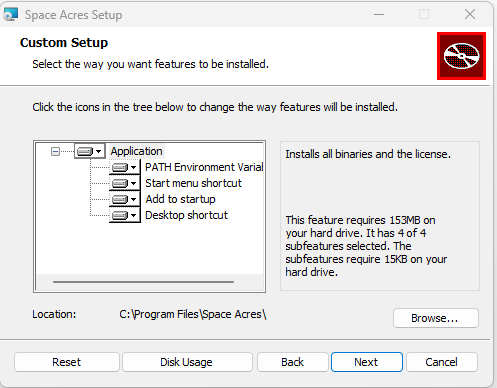
I leave the defaults here and click next:
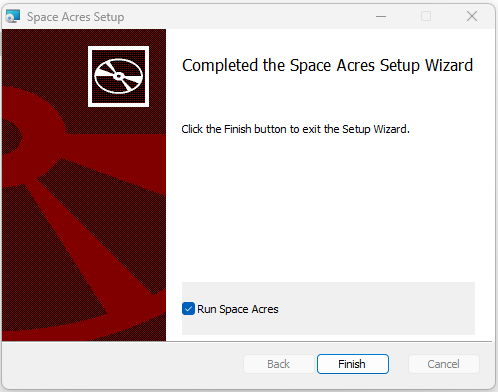
Then click “Install”. You will get a pop up from “User Account Control”, make sure to click yes to allow it to continue. Then click “Finish” to have Space Acres start.
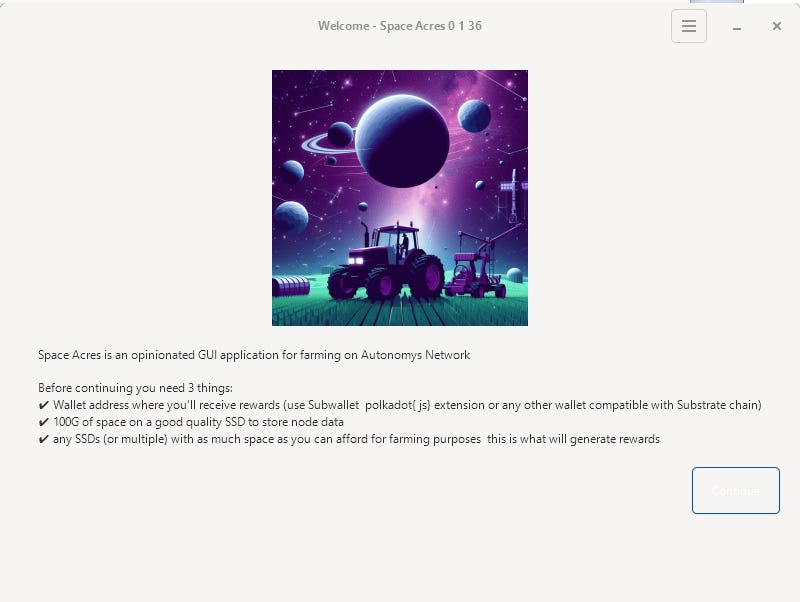
It took a moment for me, but Space Acres eventually started. You will see some requirements listed, just click “continue” to get started. The button is hard to see but its in the bottom right:
Configuration is straight forward. The first thing you need to do is set the Node Path. I recommend NOT using your farming SSD for the Node Path. I usually set it to a folder on my operating system. So for me that will be in my home folder:

If you do not have a wallet already you will need to create one to get a reward address. This is where your rewards will go and is required. I have a guide or you can click the “Create Wallet” button which will bring you to the official docs on how to create one.

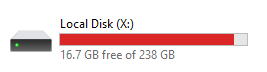
Now select your SSD, and choose a size. If you remember the image I posted above of my SSD, you can see it says 238GB, that is what I will use for the size since I am using the entire drive.

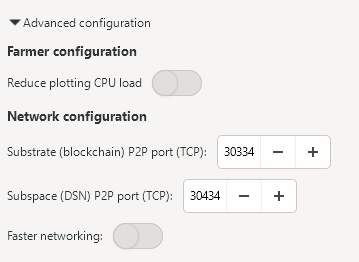
In the “Advanced Configuration” drop down I am going to make 2 changes. I need to change my default ports because I have another computer running a Node and since I have to forward the ports, I cannot have two PCs using the same ports. I will simple increment the port numbers by one using the +. If you are only running one instance of Space Acres, you can leave this as is.
Then click “Start”. You may get a pop up about the network, make sure to click “Allow”. Then after initialization you will see it begin to sync the blockchaing, piece cache, and start plotting. There is a weird Windows thing that happens - you will see your disk usage go to 100% due to a Windows specific thing where it has to write 0s to the disk before plotting. It might look something like this:
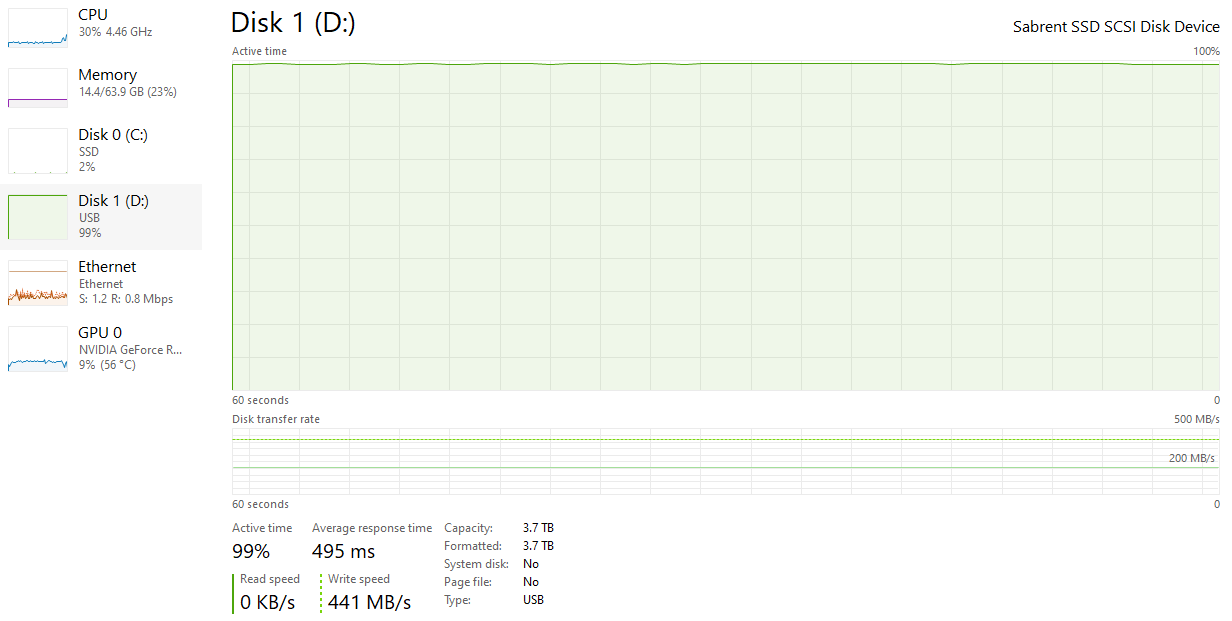
That will be done in the background, and you will likely be staring at this screen while it happens. Give it some time, it can take a while if you have a big disk.
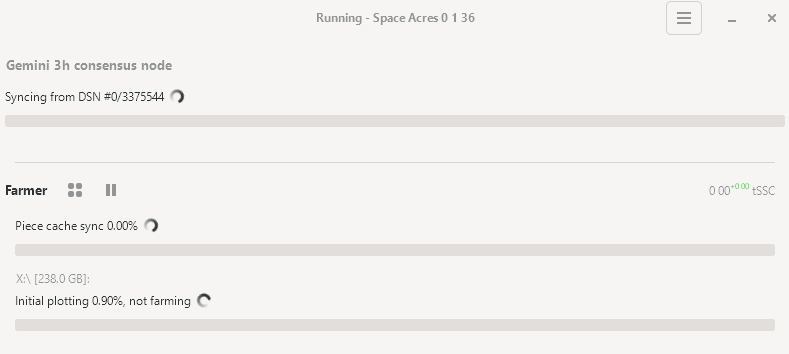
This can take a bit of time to start, mine took over 10 minutes. If it stays stuck at 0 for “Syncing from DSN” for more than 20-30 minutes then there might be an issue. I can also see that my SSD is now filled as the space is pre-allocated:
Also note that you may not see much activity until the Piece Cache is fully synced, so keep that in mind. Honestly, I usually give it an hour before I start to worry.
Forwarding Ports
As mentioned you must forward your ports. You typically do this on your router or modem. It should look something like this:
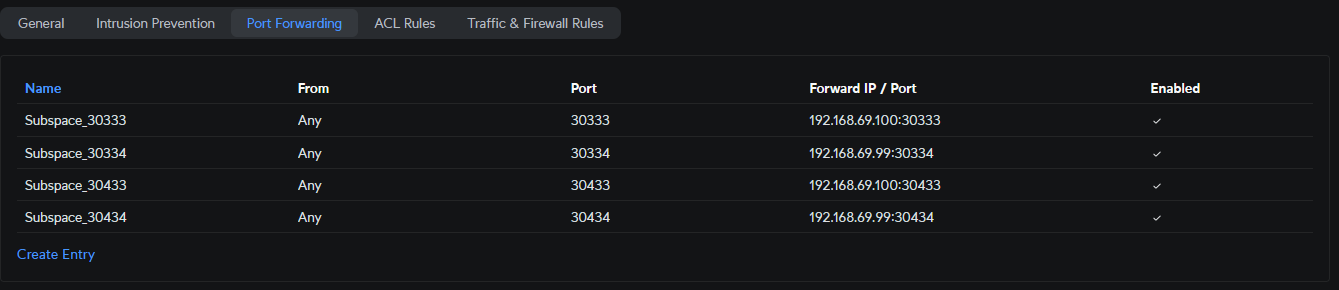
The goal here is forward outside traffic going to the two Space Acres ports (30333 and 30433 by default) to the IP address of your PC running Space Acres. In windows you can find your IP by going back into the terminal and typing:
ipconfigYou will see something like this:
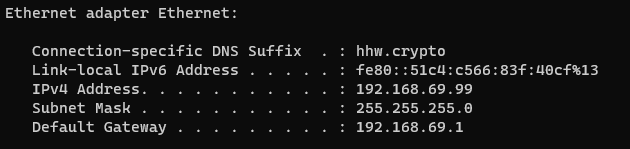
Look for IPv4 Address, for me it is 192.168.69.99. This is my internal IP address, you do not want your public IP address. If everything is done right you should see in the Space Acres logs that you have 40 peers (it can take some time to get to 40 though so give it a few hours).
GPU Plotting
To use the GPU plotting feature, you need to make sure your GPU is running the latest drivers. The default ones that Windows 11 had installed were too old. You want at least 550 for NVIDIA. I am not sure about AMD but the latest info on GPU plotting can be found here: https://docs.autonomys.xyz/docs/farming-&-staking/farming/additional-guides/gpu-plotter
GPU plotting should start automatically and you can check the Task Manager to see GPU usage. CPU plotting will be disabled if you have a GPU to ensure the fastest plot times. As you can see here, the GPU is being nearly fully utilized by Space Acres:
Rewards!
Now sit back and enjoy the rewards! You will probably want to pause Space Acres if you need to do anything intesive like gaming. Just start it back up when you are done and it will sync back up. Also be aware that once the initial plotting is done, you will still replot periodically, this is normal and will lessen as the blockchain history grows.