


I am in the middle of a big reset with my hardware. As a result, I’m in need of a new primary host for my centralized processes. I don’t always keep all of my servers on, but I do need one that remains on 24/7 for various reasons. I typically give the hostname of Alpha to the server that receives this honor, for no other reason than its the first letter in the Alphabet.
I am replacing a power hungry dual Xeon with a simple AMD 5700G, boasting a nice 65w TDP. Much better than the 2x130w TDP of the Xeon 2697v2s being replaced. This AMD system was already being used as a NAS so it just made sense to promote it to my main system now that I don’t need to host 60+ Spacemesh nodes (thank you 1:N).
I do already have a guide for Docker and Portainer, but I learn new things over time and figure it’s time for a new guide. I’m going to be refreshing a lot of my other guides in the next few weeks as I reset my system and build out my Spacemesh and Subspace mining rigs.
Preperation
The first thing I always do is get everything updated. There isn’t a whole lot to his. I start with grabbing all the updates:
sudo apt update && sudo apt upgrade -yThen update your systems timezone
sudo timedatectl set-timezone America/PhoenixAt this point you should restart your system if any updates installed. It is not always required but I consider it best practice.
sudo reboot nowInstalling Docker
I always recommend checking out the official documentation for install Docker. For completeness I will include the steps I perform. However, in the future things may change.
Set up the respository to include Docker. I prefer to run these commands separately.
sudo apt-get install ca-certificates curl gnupgsudo install -m 0755 -d /etc/apt/keyringscurl -fsSL https://download.docker.com/linux/ubuntu/gpg | sudo gpg --dearmor -o /etc/apt/keyrings/docker.gpgsudo chmod a+r /etc/apt/keyrings/docker.gpgecho \
"deb [arch="$(dpkg --print-architecture)" signed-by=/etc/apt/keyrings/docker.gpg] https://download.docker.com/linux/ubuntu \
"$(. /etc/os-release && echo "$VERSION_CODENAME")" stable" | \
sudo tee /etc/apt/sources.list.d/docker.list > /dev/null
sudo apt-get updateInstall the Docker packages
sudo apt-get install docker-ce docker-ce-cli containerd.io docker-buildx-plugin docker-compose-pluginAnd finally, add the current user to the Docker group
sudo usermod -aG docker $USEROnce that is done, close out of your terminal and open it again to refresh. If you don’t, when you run docker you will need to use ‘sudo’. You can test it out by running:
docker psYou should just get some table headers like “CONTAINER ID” etc..
Installing Portainer
When I set up my systems, I always run a primary instance of Portainer, and have all my other servers connect to it as “Portainer Agents”. I like to do it this way because I have a lot of servers and I don’t want entire instances of Portainer running on all of them. I want a single IP I can reach them all at. However, it means that if Alpha is ever off, then I can’t reach Portainer for any of my servers.
It’s really a personal preference. I will start by installing the full Portainer instance in docker. As with Docker, I always recommend checking out the Official Documentation, but I will put the instructions for how I install it here.
Create a volume for Portainer
docker volume create portainer_dataThen deploy the Portainer image
docker run -d -p 8000:8000 -p 9443:9443 --name portainer --restart=always -v /var/run/docker.sock:/var/run/docker.sock -v portainer_data:/data portainer/portainer-ce:latestDocker should pull and then deploy the image. You can check it was completed successfully by running:
docker psYou should now see Portainer listed. And, you should already be able to browse to the Portainer instance on your network. You can put the IP of your server, along with the port that you set for Portainer when you ran the docker command. You can find your ip with:
ip aThe output will likely have a few entries, but you should look for something like ‘enp5s0’ - definitely not the one that says ‘docker0’ or ‘lo’. My server’s IP is 192.168.69.101. So to get to my Portainer instance, I can use the following address:
https://192.168.69.101:9443You are going to get an error about an unsecure connection, but you can click ‘advanced’ and then proceed. If you run into another error about Portainer timing out, you just need to restart it. You can do that back in your server with:
docker psThen grab your CONTAINER ID and use it to restart Portainer
docker restart <CONTAINER ID>Then go to the URL and set your username and password. This only needs to be done once. Make sure you save it. I always bookmark my Portainer instance so I can get to it quickly. Once you are in, you can click “Get Started” and you should see your local environment.
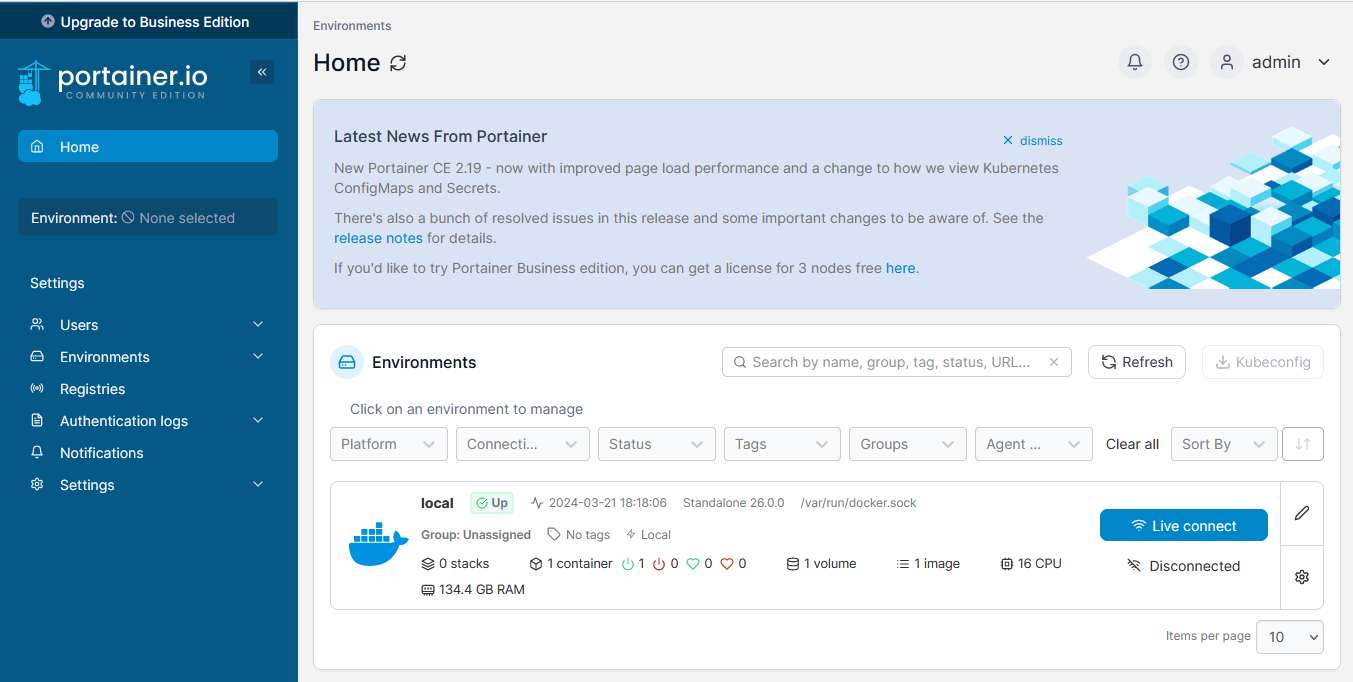
I like to rename mine to the hostname of the server. You can do this by clicking on the “Environments” button under “Settings” on the left side.
Then click on the ‘local’ environment. And in the ‘name’ section, enter the name you want. My server is Alpha, so that is what I will use. Click “Update Environment” and then click “Home” on the left side to go back to the main dashboard. You should now see your environment there with the new name.
Once I’ve set up Portainer, the next thing I typically do is set up monitoring so that I can set up alerts and keep track of how my system is doing. If you would like to do that you can check out the article for that.
Basic Guide to Monitoring Your Servers: Part 1

I have around ten servers on my home network and having a single location to visually check on them all is really nice. This guide walks through how I use Grafana, Prometheus, Cadvisor, and Node Exporter so that I can monitor them. If you haven’t already, check out my guide on getting Docker and Portainer set up.